The commercial documents you transmit to your clients embody the identity of your company. Fact allows you to customize them to shape a consistent and professional image.
Predefined templates are available, enabling you to quickly generate documents by simply adding your colors and logo.
To delve further and benefit from more advanced possibilities, you can create custom templates. This allows you to precisely define the information you want to include in your documents, their placement, and their format.
Add a logo and set the font
The font and logo are configured independently of the document template choice. In other words, once set, there is no need to revisit them, even if the template changes.
If you haven't chosen a font or logo before creating your custom template, you can take care of it:
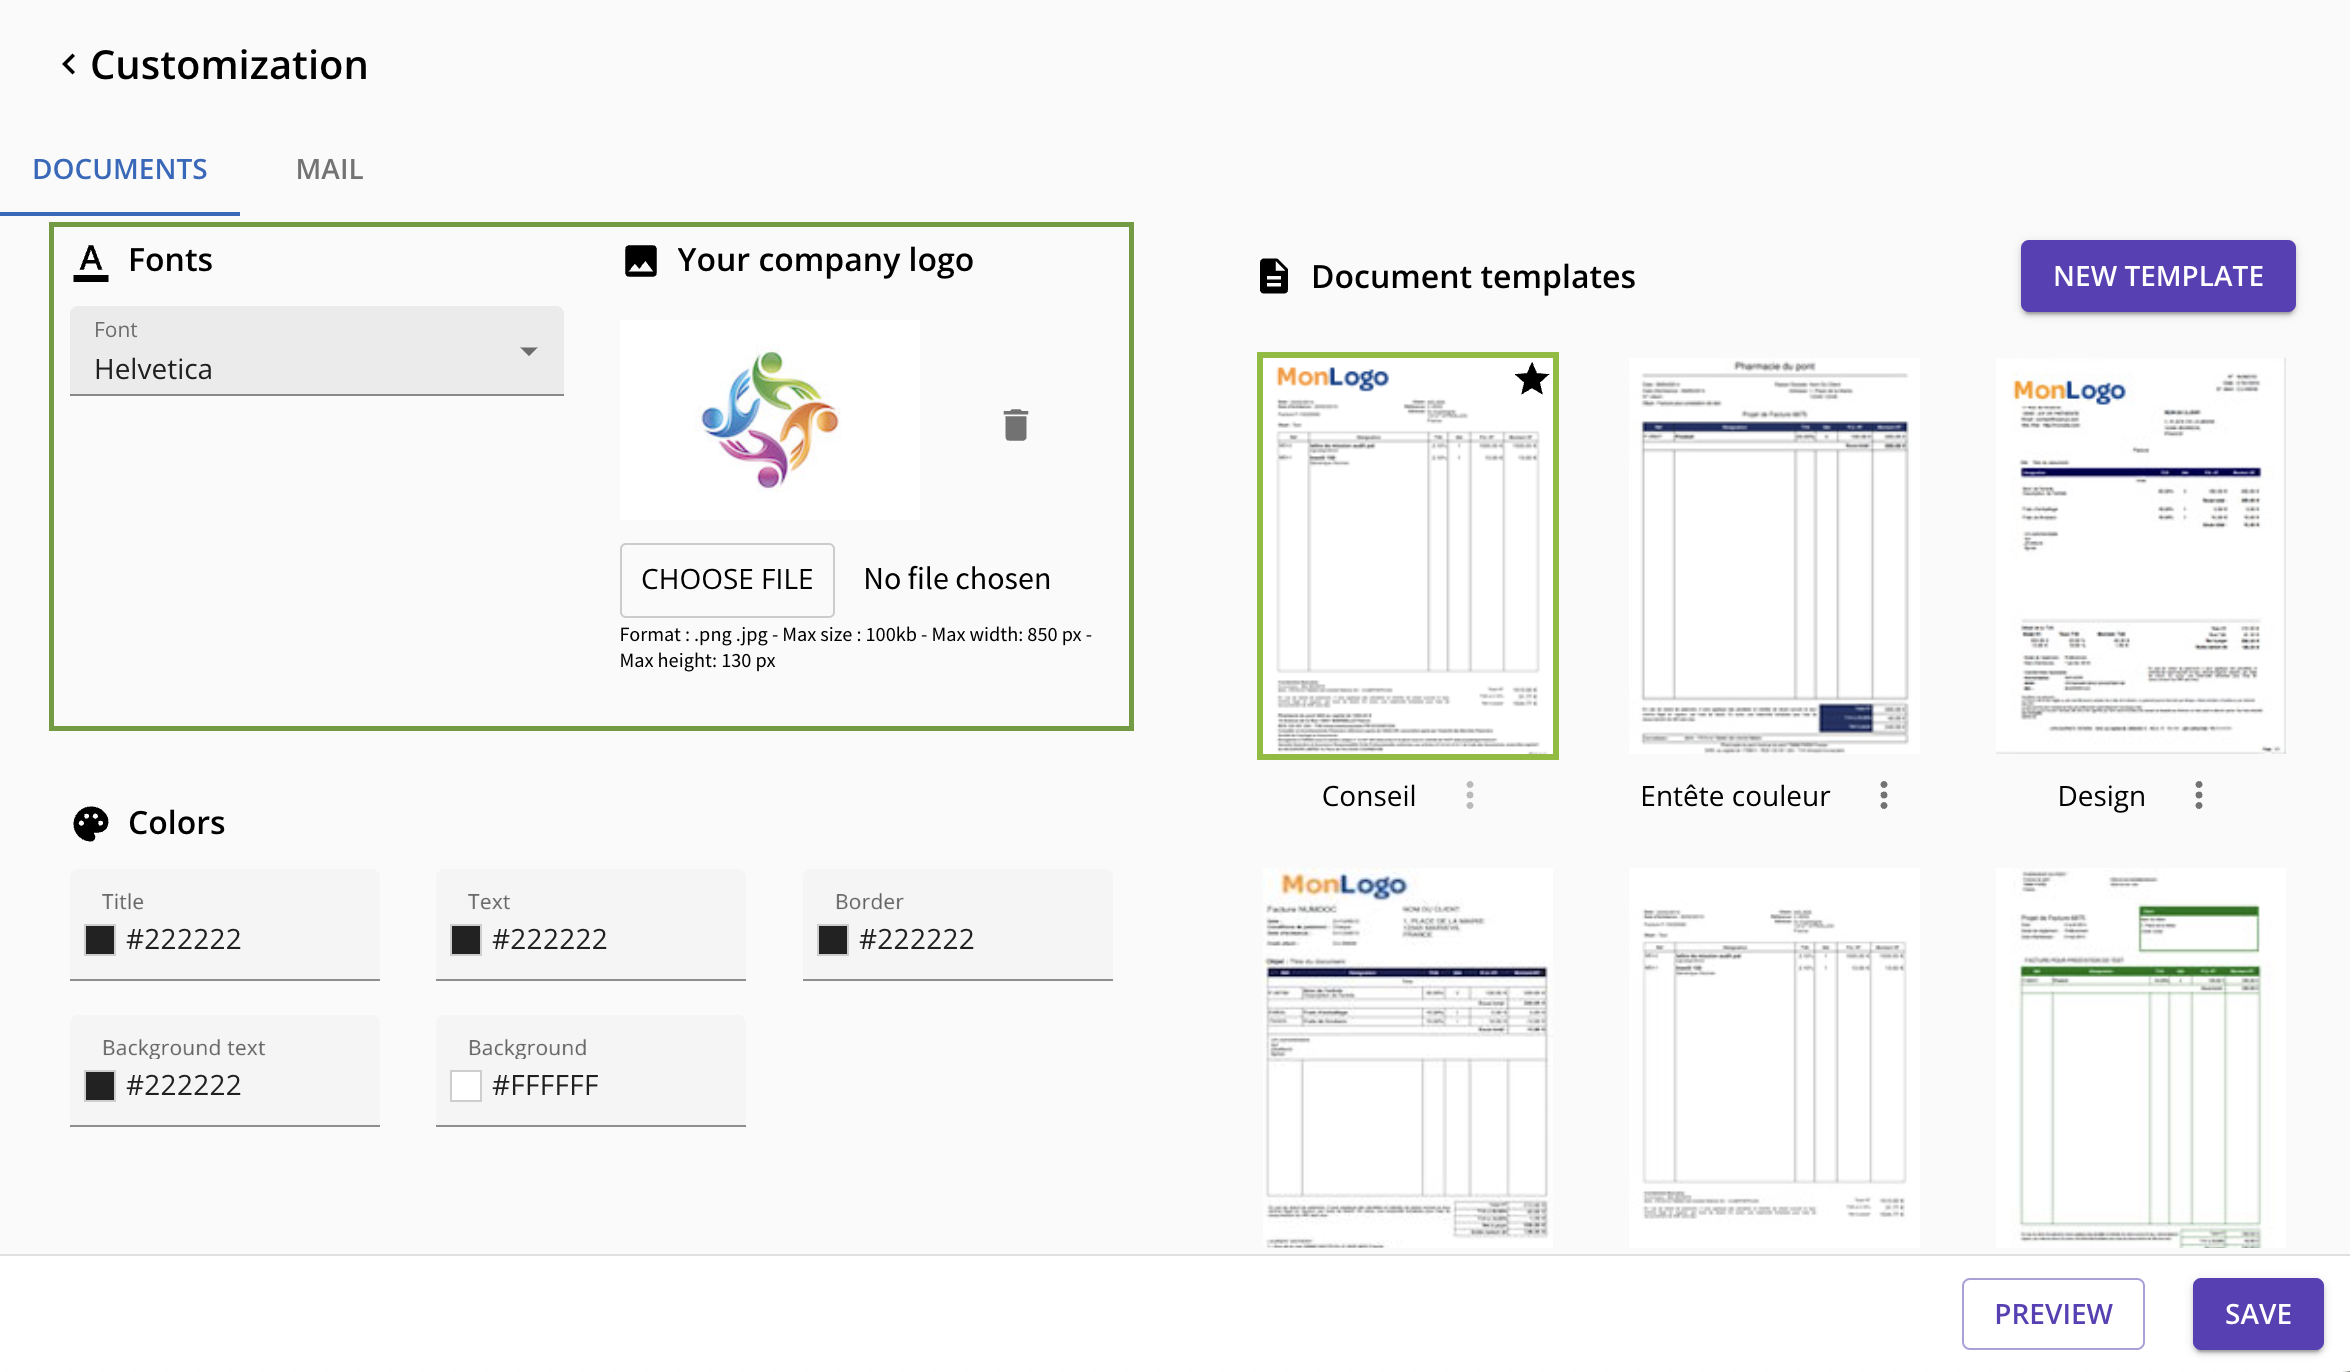
About the logo, here the format to be adhered to:
- Format: .png / .jpg
- Max size: 100 kb
- Max width:850 px / Max height: 130 px
Create a customized template
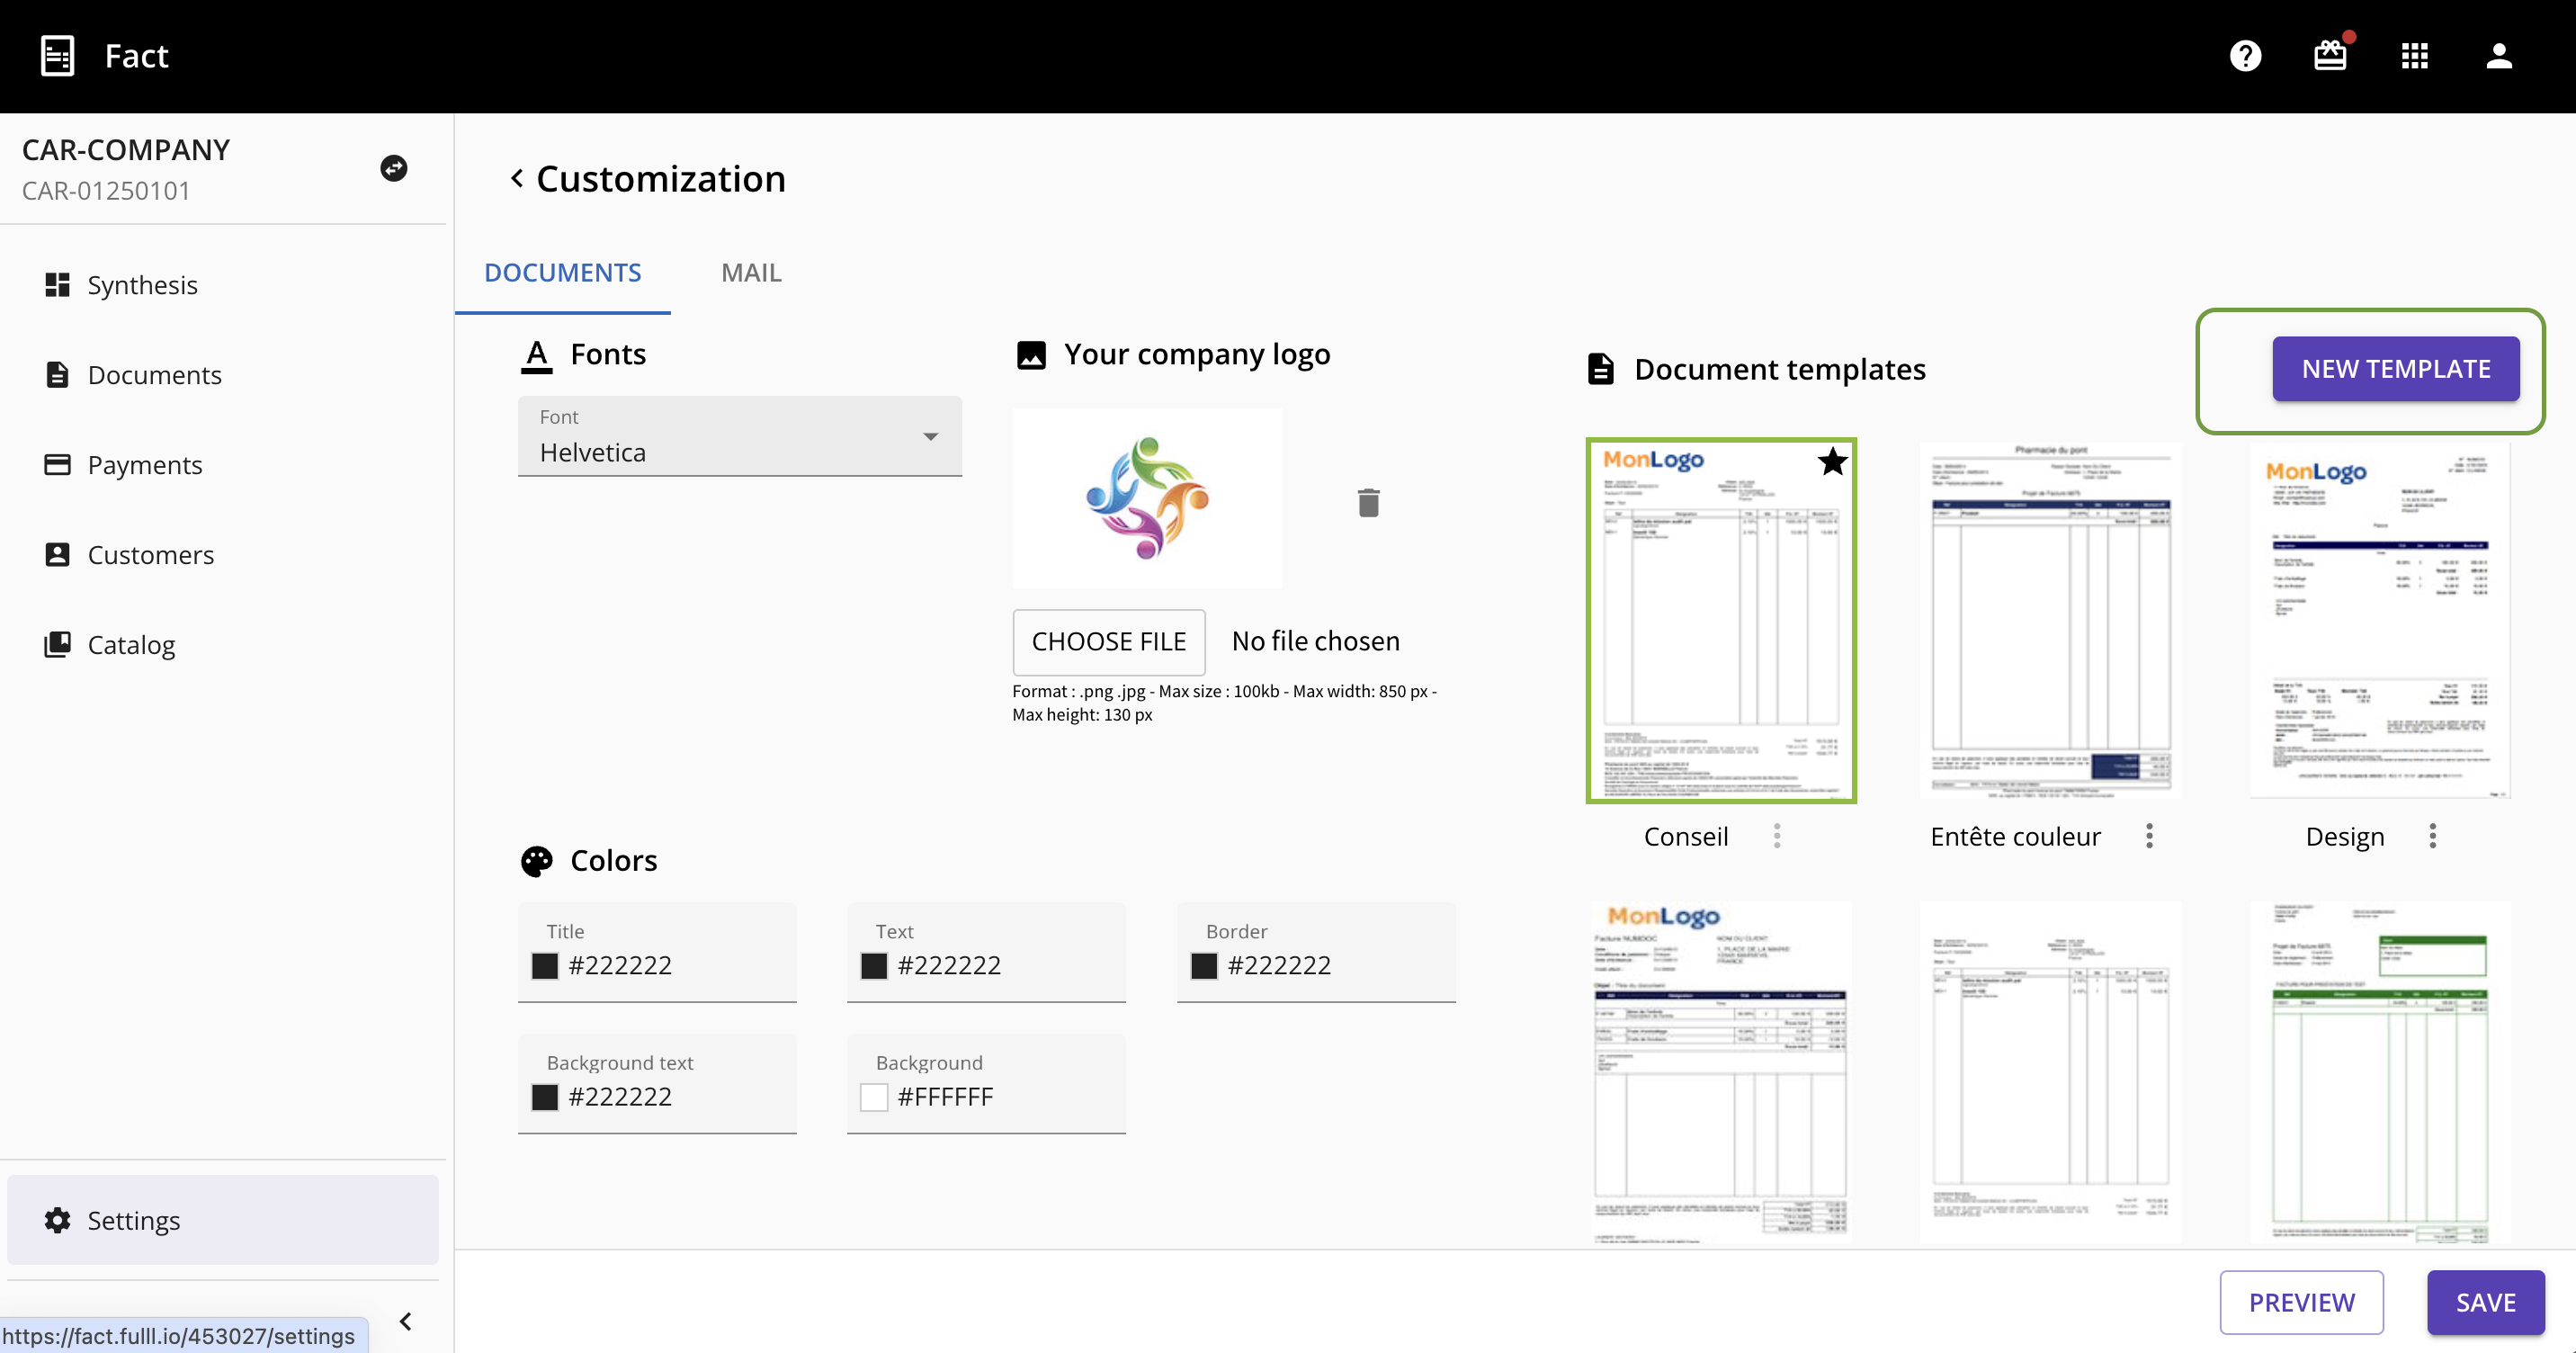
In "Settings" menu, on "Customization" tab, click on the "NEW TEMPLATE" button:

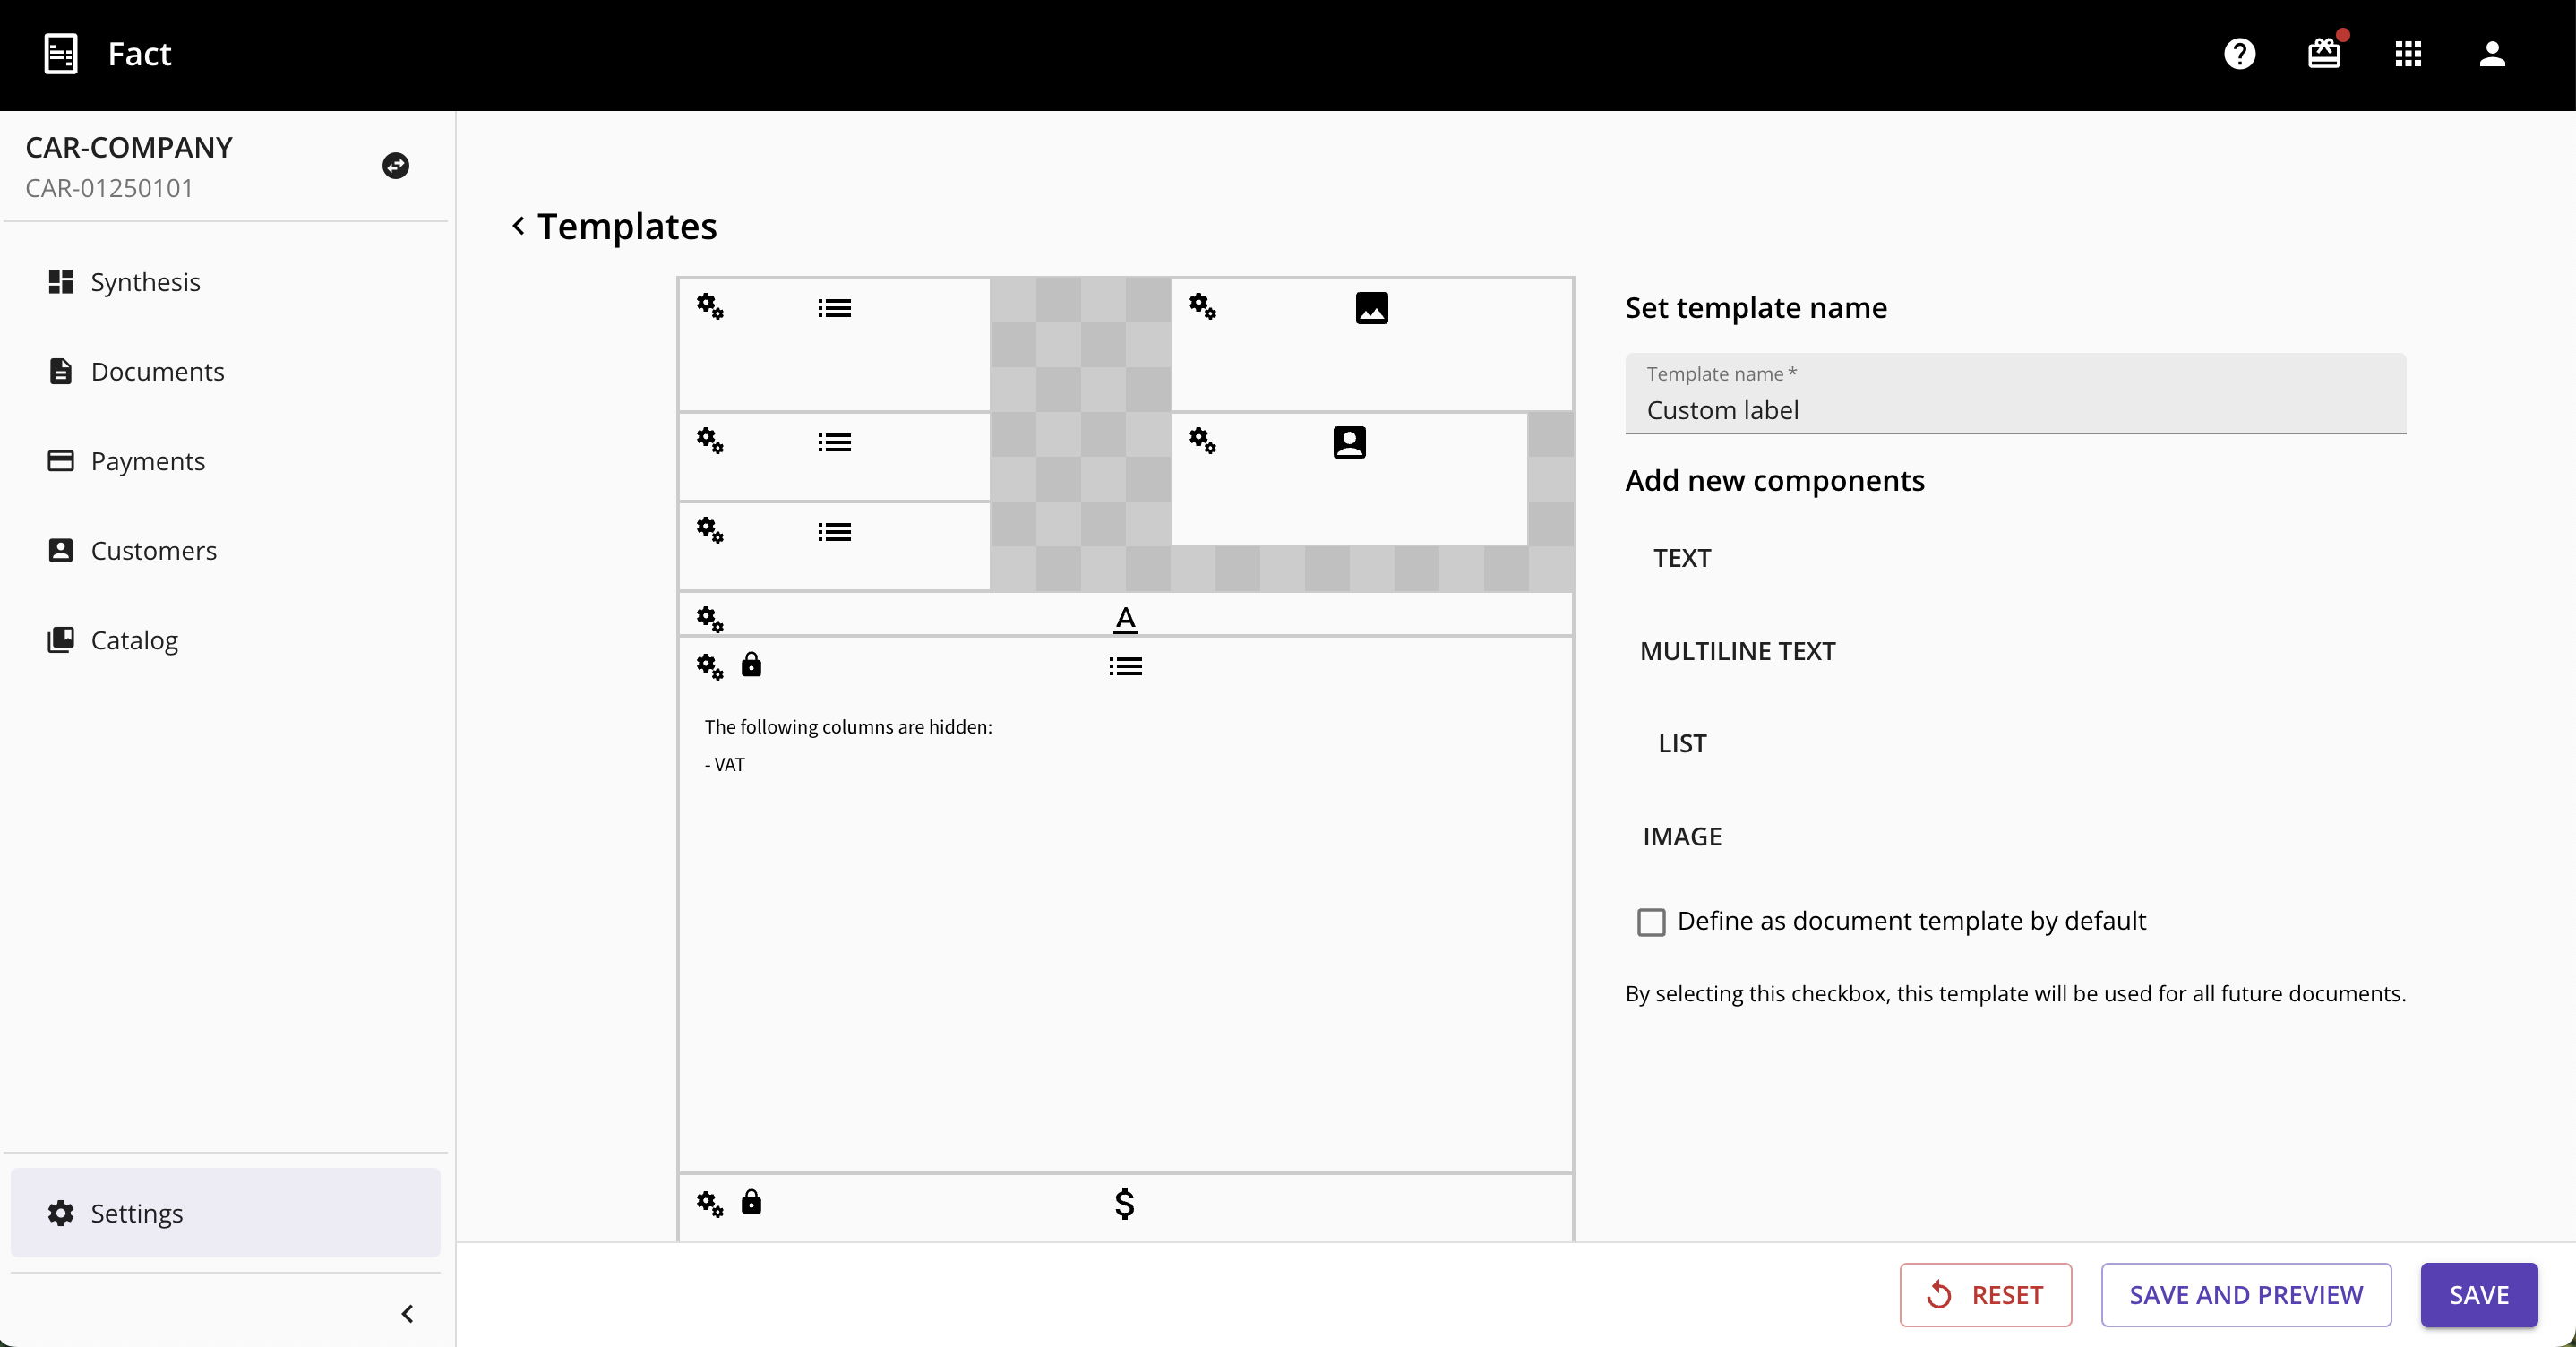
In the editing screen that appears, you can start customizing the template:
Create several custom template with Premium offer
|
Add new components
From the edition screen of a custom template, it is possible to add a new component.
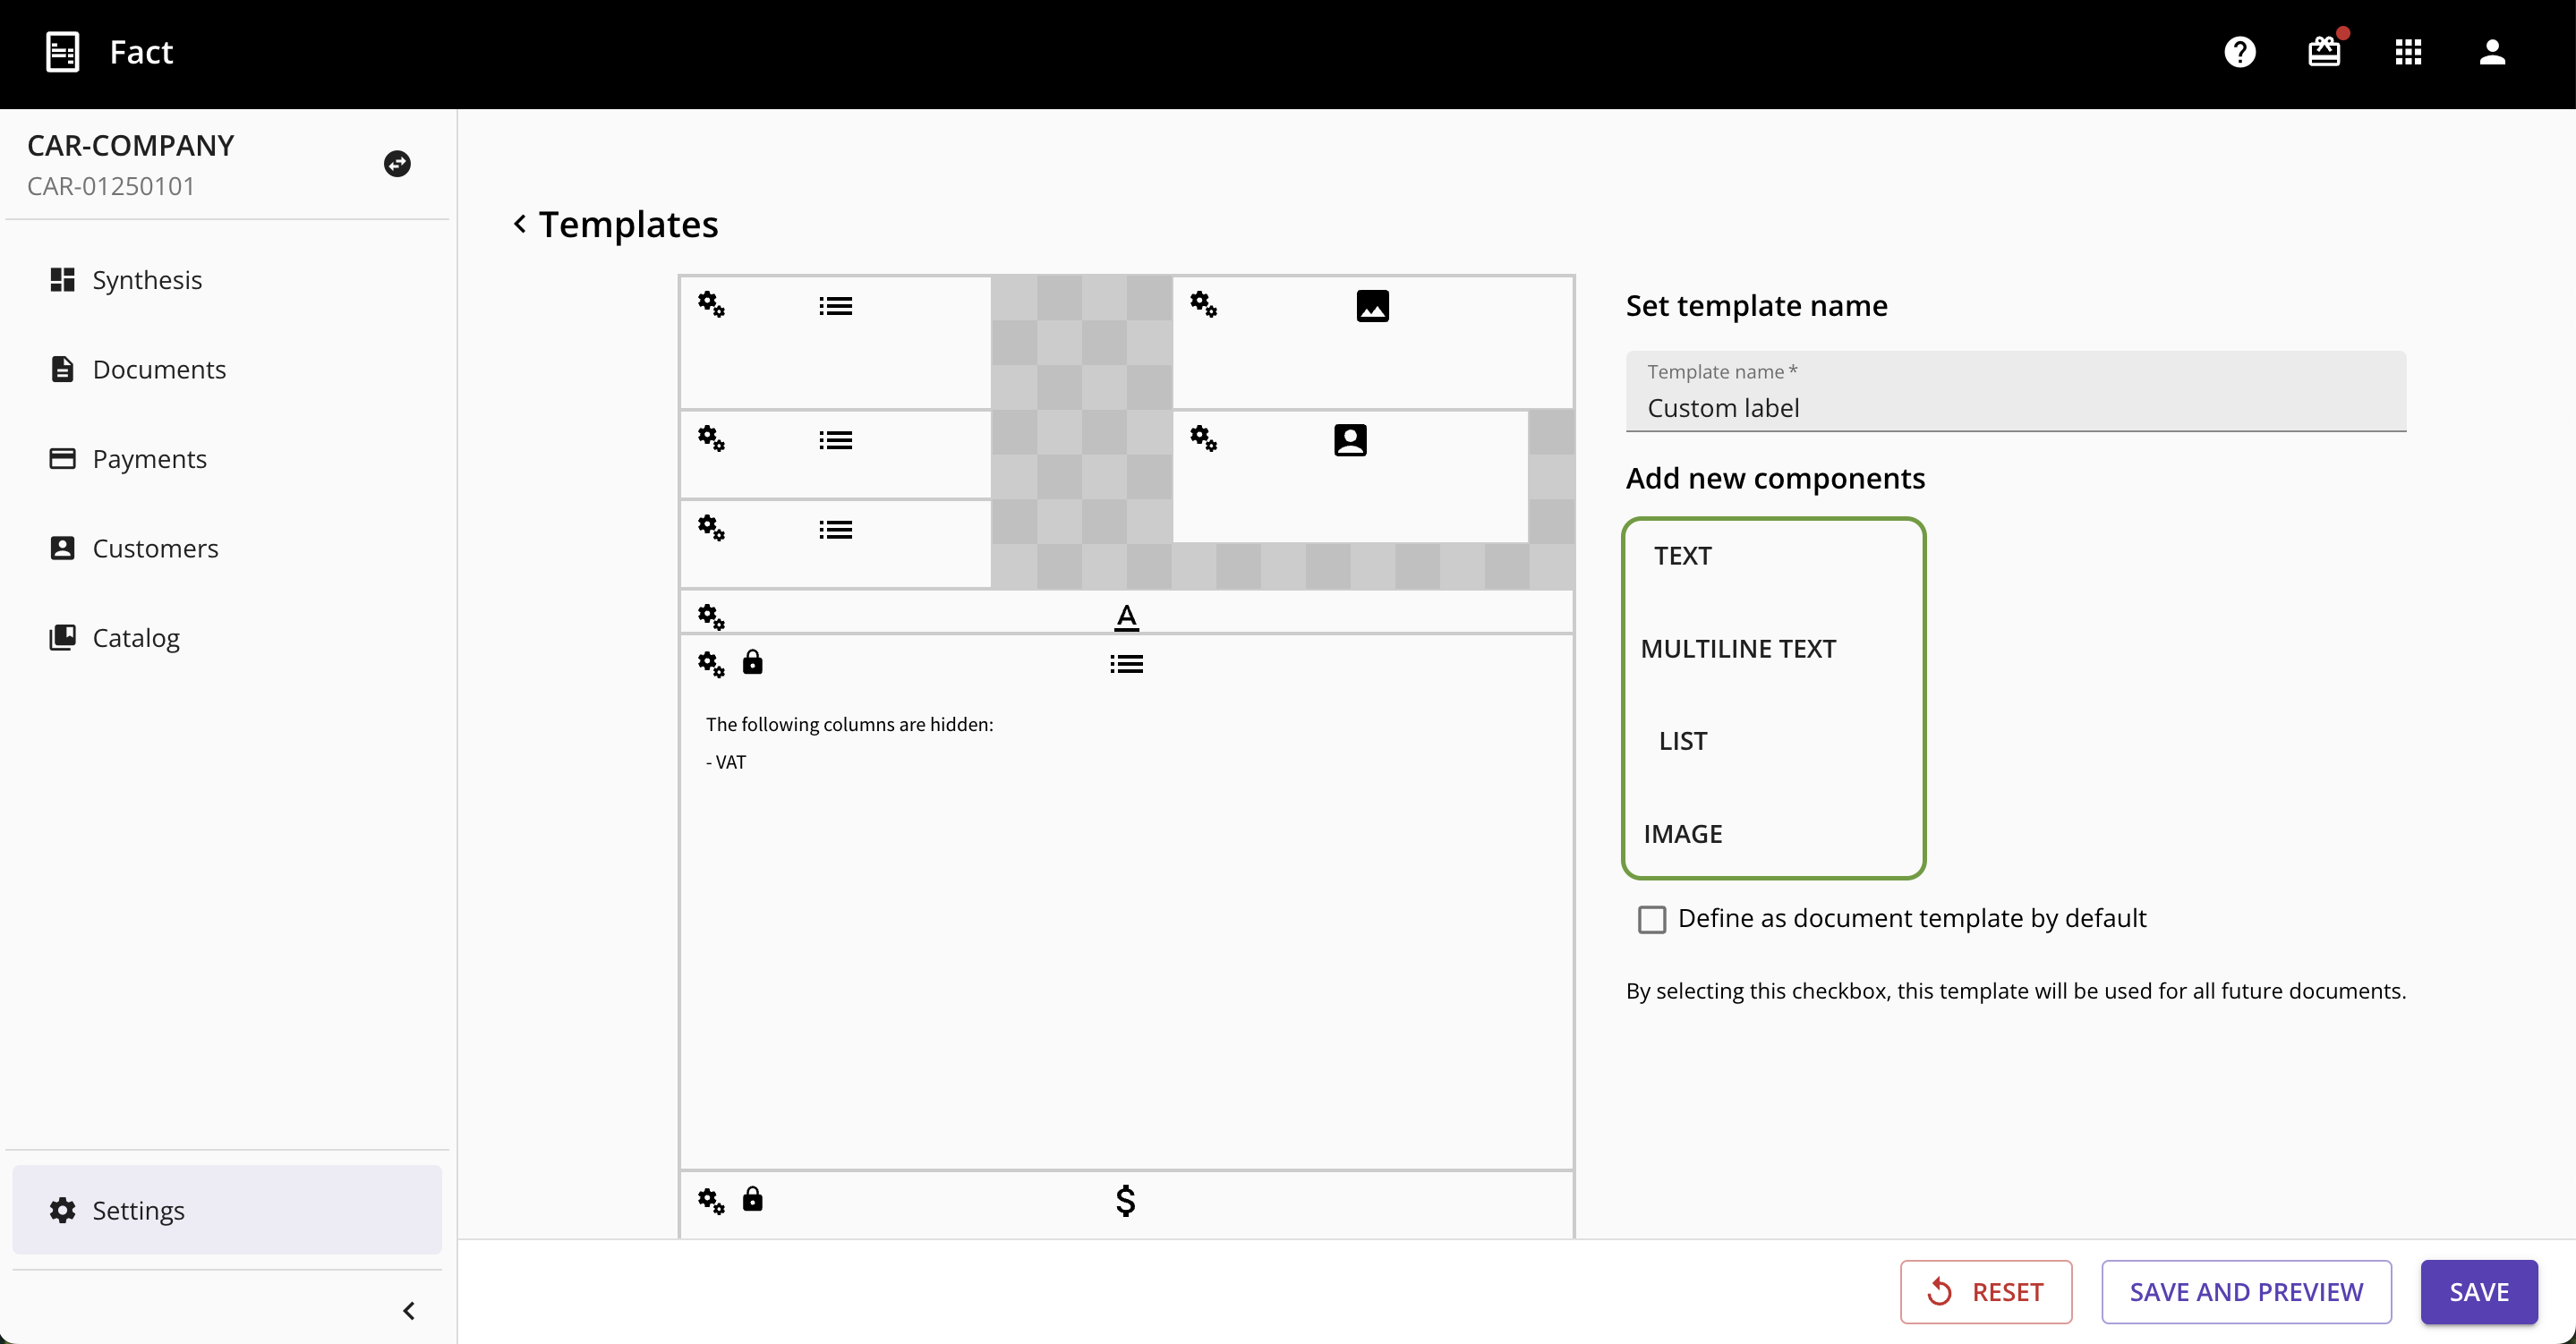
To do so, on the right, click on the component type you want to add (TEXT, MULTILINE TEXT, LIST, or IMAGE).
Upon clicking, a new component will appear on the template editor.
| The different types of components Here are the types of components that can be added:
|
Edit a component
From the edition screen of a custom template, it is possible to edit the content of a component, chane its size or move it.
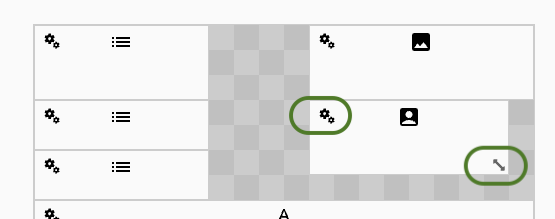
- Click on
 to set the content of the component
 - Click on
 to change the size of the component
 - Click on the component and hold the click to move it
Components with a padlock  are locked, are locked,you can neither change the size nor move it. Indeed, these are components that must appear on your documents, so it will be impossible to modify them. |
Edit component content
 Component TEXT
- Enter text on a line. It is possible to use fields (list of fields on the right)
- Additional options available:
- Border
- Font size
- Font style

 Component MULTILINE TEXT
- Add a title
- Add a content. It is possible to use fields (list of fields on the right).
- Define a border around the component

 Component LIST
- Add a title
- Add an element: enter the title and its value. It is possible to use fields for the value (list of fields on the right)
- Additional options available:
- Border
- Font size
- Font style

If the title and its value are filled in, both elements will appear on the document. If the title or its value refers to a variable which is not filled in, then they will not appear in the document. Example: "Site Url" variable, when you have not entered a website in your contact details. Finally, if only the title or its value is filled in, the element will automatically take up the entire width of the component. |
 Component IMAGE
- Use the logo:
If yes: Use the previously downloaded logo
If no: Upload a new image Force size:
If yes: keeps the original size of the image
If no: Allows you to define the size of your choice for the width and heightBorder: Choose whether to display a border

 Component CLIENT ADDRESS
This component is mandatory and its content cannot be modified. It is possible to :
- Show the border
- Change the font size and style

 Component TABLE WITH ALL THE COMPONENTS OF THE DOCUMENT
This component is mandatory and its content cannot be modified. It is possible to hide certain elements on the document such as :
- Quantity
- Unit
- VAT
- Reference

 Component TOTALS AND LEGAL NOTICE
This component is mandatory and its content cannot be modified. It is possible to :
- Choose to display the VAT details
- Choose to display the borders

Certain information must be included on the documents and is represented by a star (*). If some of these compulsory details are missing, the personalisation cannot be recorded. Example: the document number, its date, your contact details, your NAF code, SIRET number, payment methods, etc. |
Validate the personalization of the document
Once te customization is finished, save the changes by clicking on the "Save" button.
It is also possible to preview the template by clicking on the "Save and Preview" button.
Reset the template
To reset its template, simply click on the “Reset” button.
Was this article helpful?
That’s Great!
Thank you for your feedback
Sorry! We couldn't be helpful
Thank you for your feedback
Feedback sent
We appreciate your effort and will try to fix the article